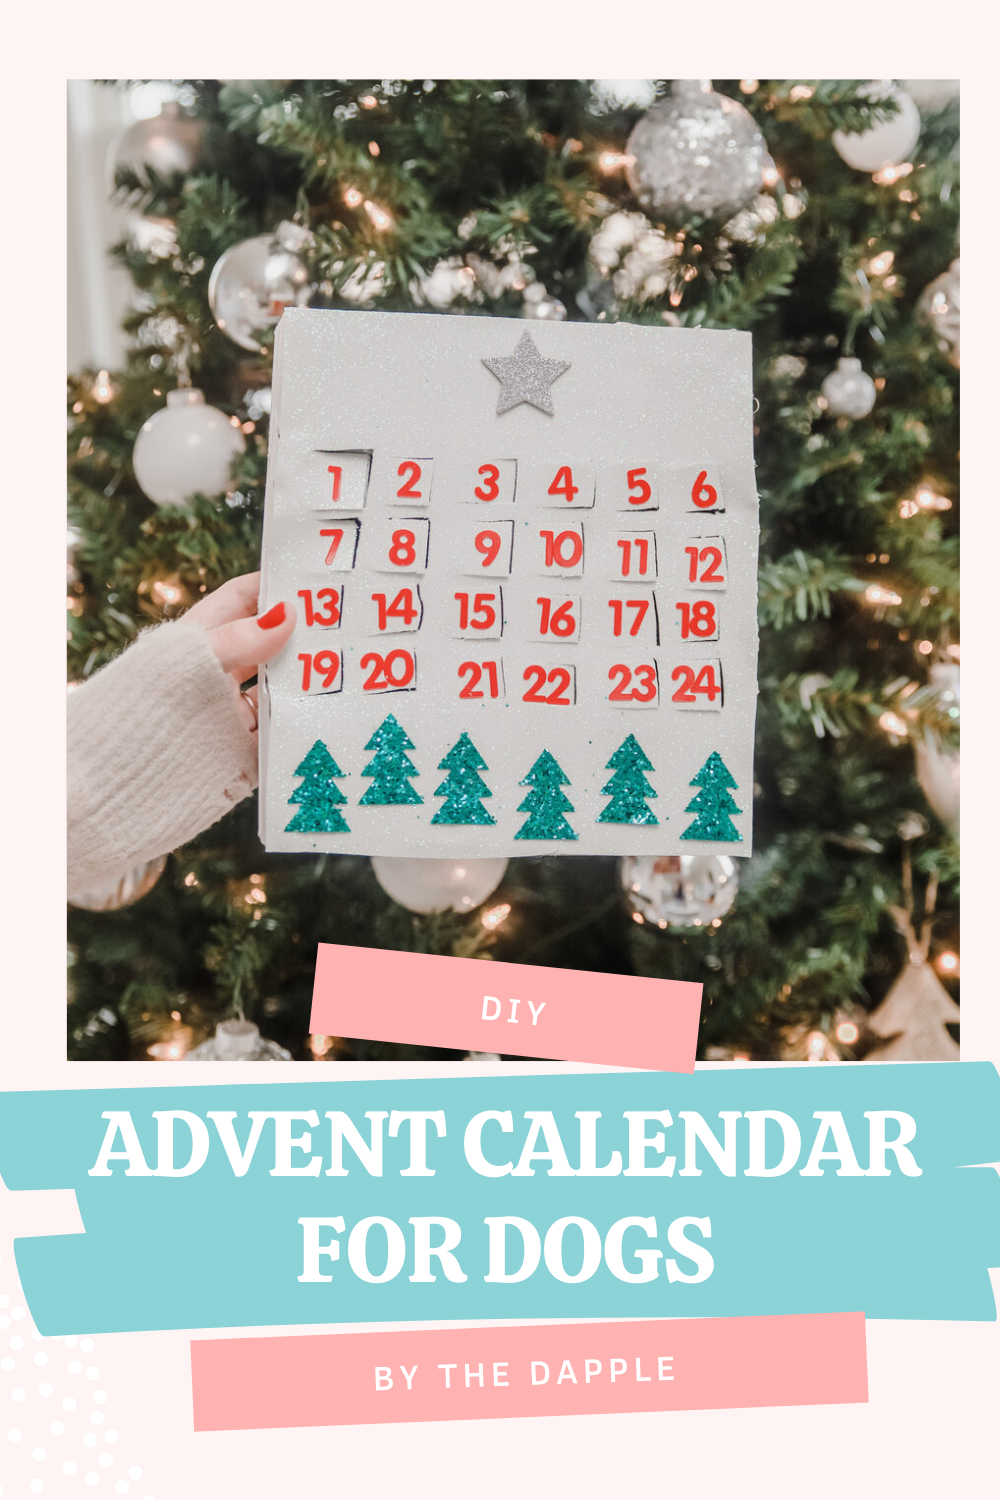
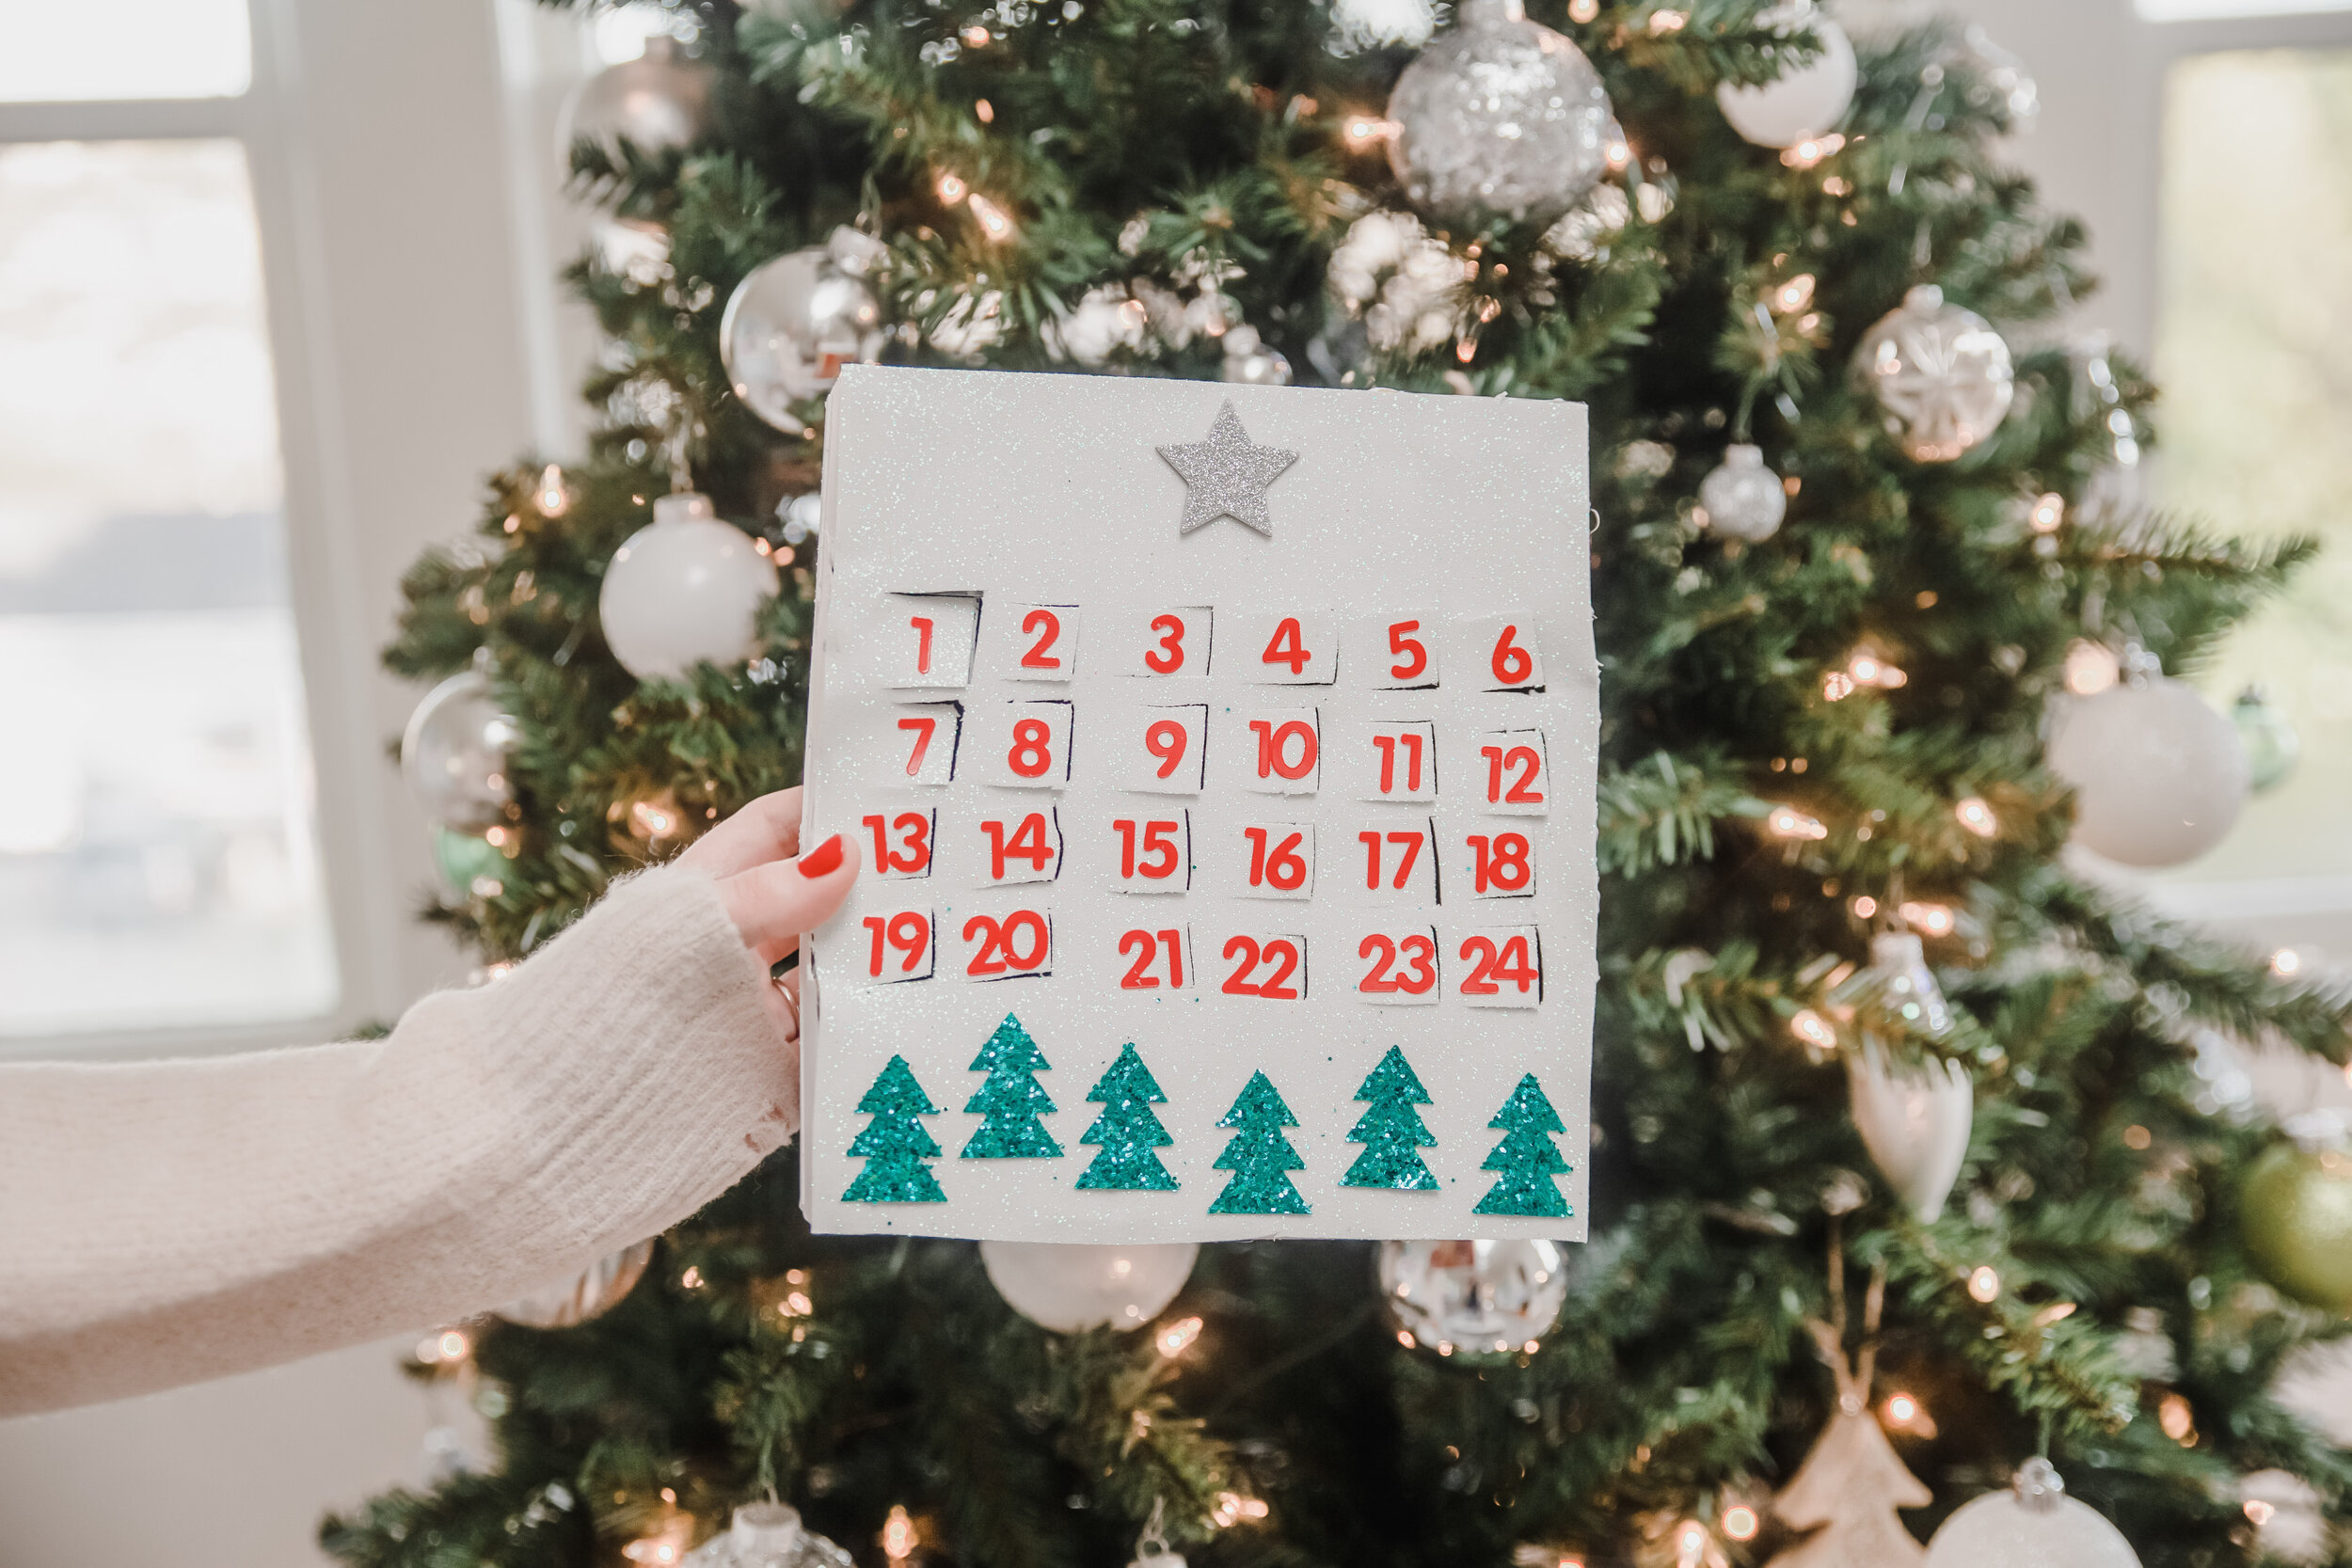
DIY Dog Advent Calendar
Happy December!
The Dapple sometimes receives a small affiliate income when you shop using our links, but we’ll only ever link to products we truly love.
Is there anything more December-y than having a little square of waxy chocolate first thing in the morning?
Okay, maybe. But I’ve had a chocolate advent calendar pretty much every year for as long as I can remember, so to me, bad milk chocolate first thing in the morning truly feels SO festive.
There are a ton of cute dog advent calendars out there these days, but we wanted to try our hand at DIY-ing our own. So if you’re on a budget and don’t want to spend a ton of money, or your dog has dietary limitations, or you just plain ran out of time and everything else is sold out, we’ve got the advent calendar for you!
We made this cute little dog one with a few simple components—a cracker box, some glitter stickers, some number stickers, a sheet of foam glitter paper, and an ice cube tray.
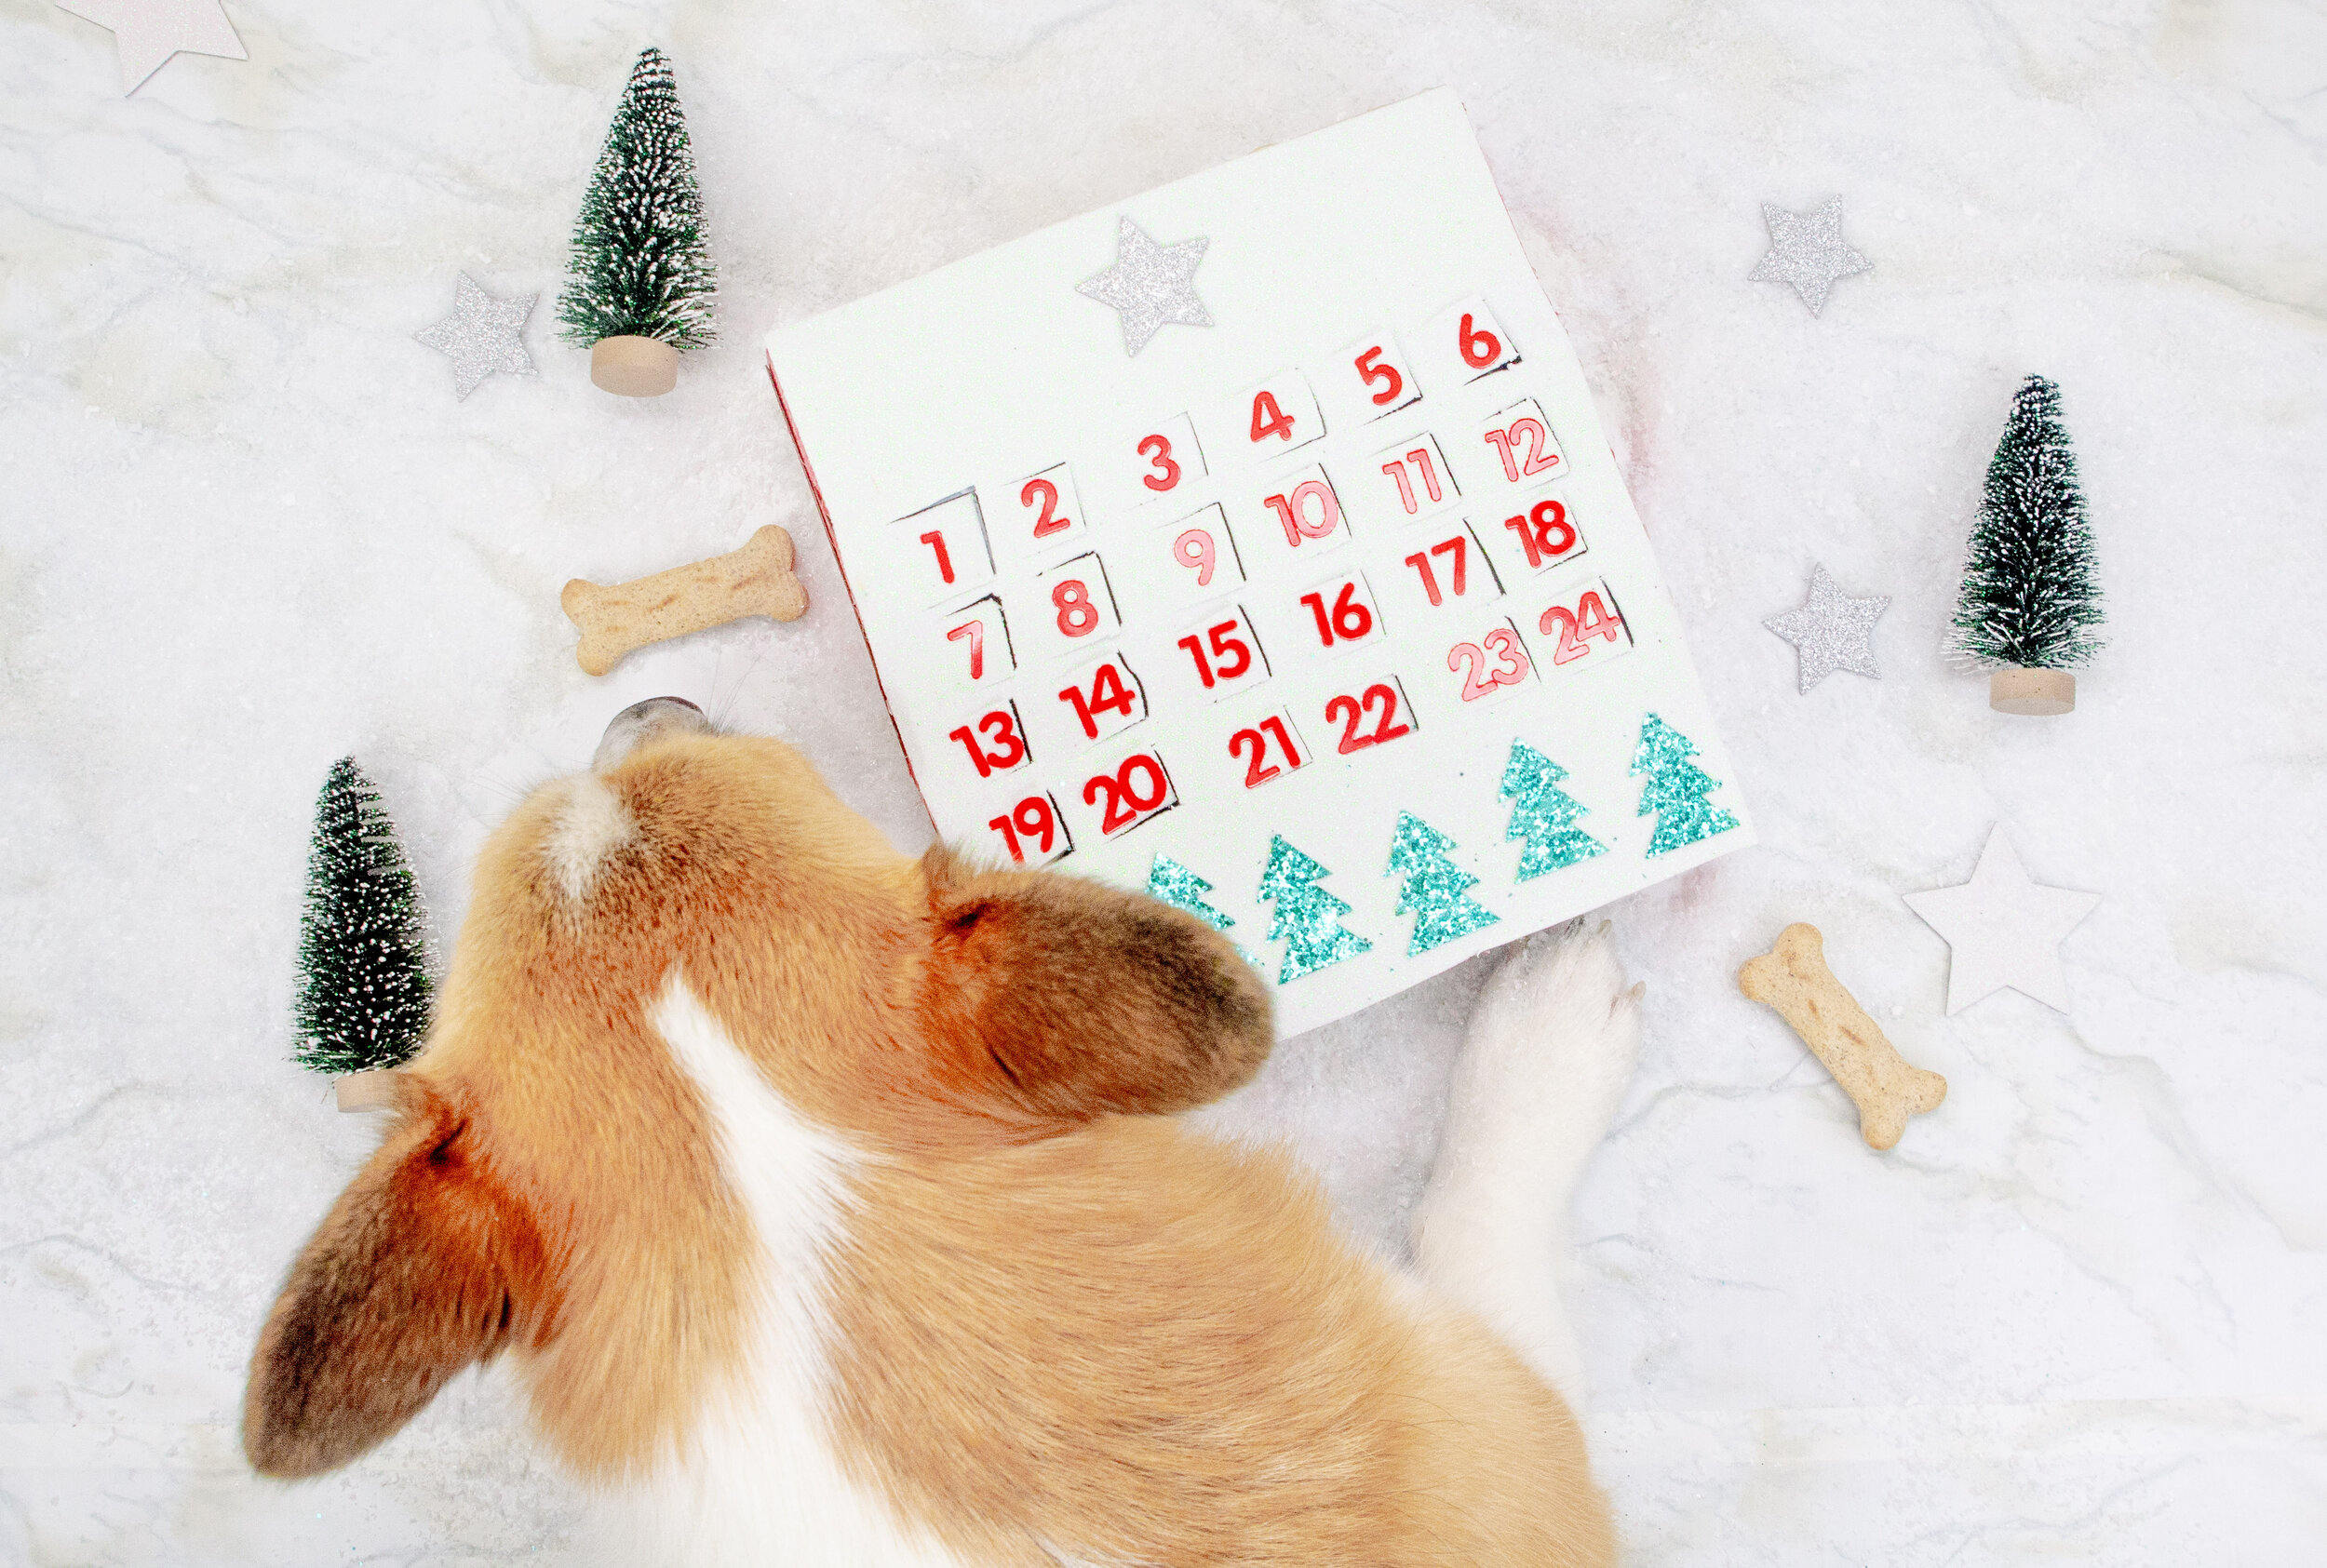
It’s no surprise really, but our dogs absolutely love it! 👇🏻
I’d been wanting to do a dog advent calendar for the past two years, but I kept getting hung up on how the tray that comes holds the chocolate or dog treats. Was there even a possible way to DIY that? I did some googling and got nothing.
But then! We moved into our new house this fall and man, did the previous owners love their ice cube trays. They left maybe seven different ice cube trays in the freezer. And then it dawned on me—ice cube trays could be the perfect way to make an advent calendar work!
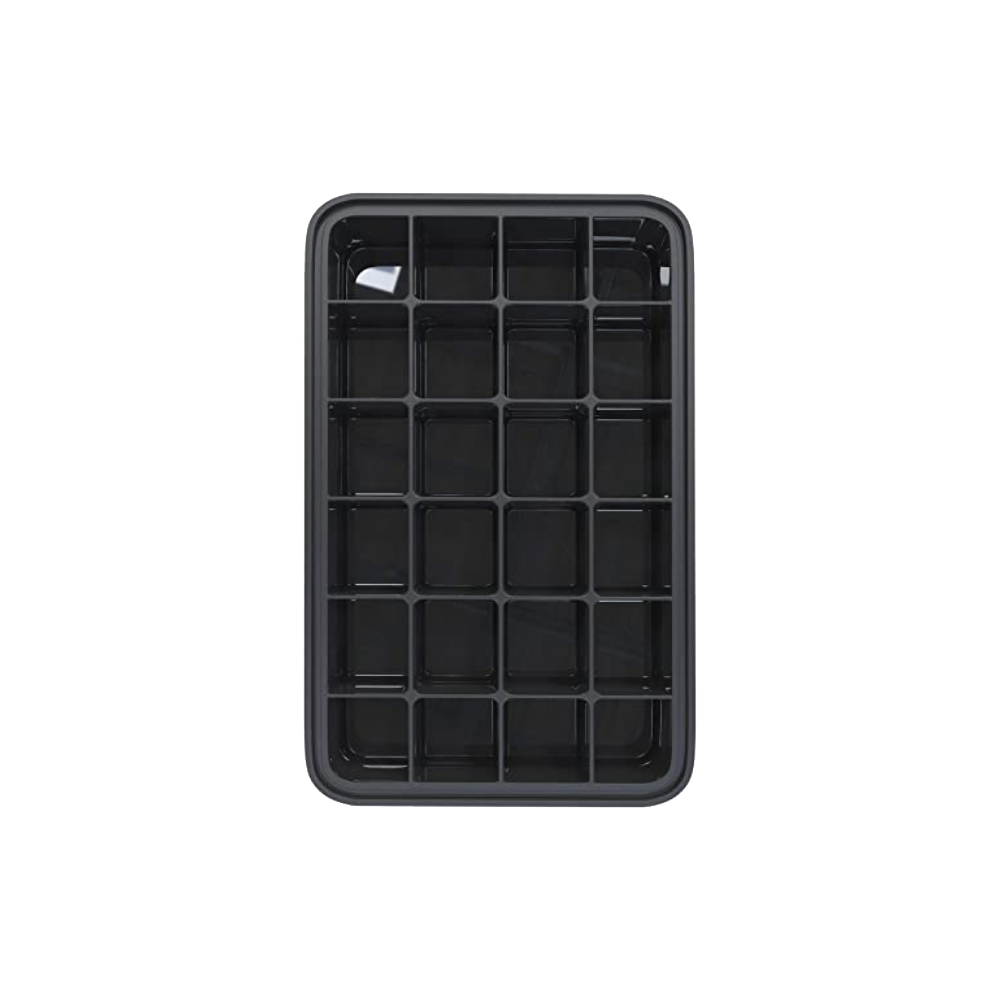
Here’s the secret—you’ve got to find an ice cube tray with 24 cube spaces. A quick browse around Amazon is all it really takes. You could also probably do this DIY with two trays of 12 ice cubes if you’re really crafty, but honestly, that feels like too much effort to me. And I just made an advent calendar for my dogs… so you know… 🤷🏼♀️

Once you find an ice cube tray with 24 slots, check around your kitchen for boxes with a matching width. So, my ice cube tray was about 8.5” across. It perfectly matched Josh’s empty box of crackers, which also had a width of about 8.5.”
Here’s everything I used. 👇🏻👇🏻👇🏻

And here are a few of the Amazon links:

DIY Dog Advent Calendar
YOU’LL NEED:
1 Empty Cracker Box or Small Cereal Box That’s About 8.5 Inches Across
1 24-Slot Ice Cube Tray That’s About 8.5 Inches Across
A Pen
White Paint
Paint Brush
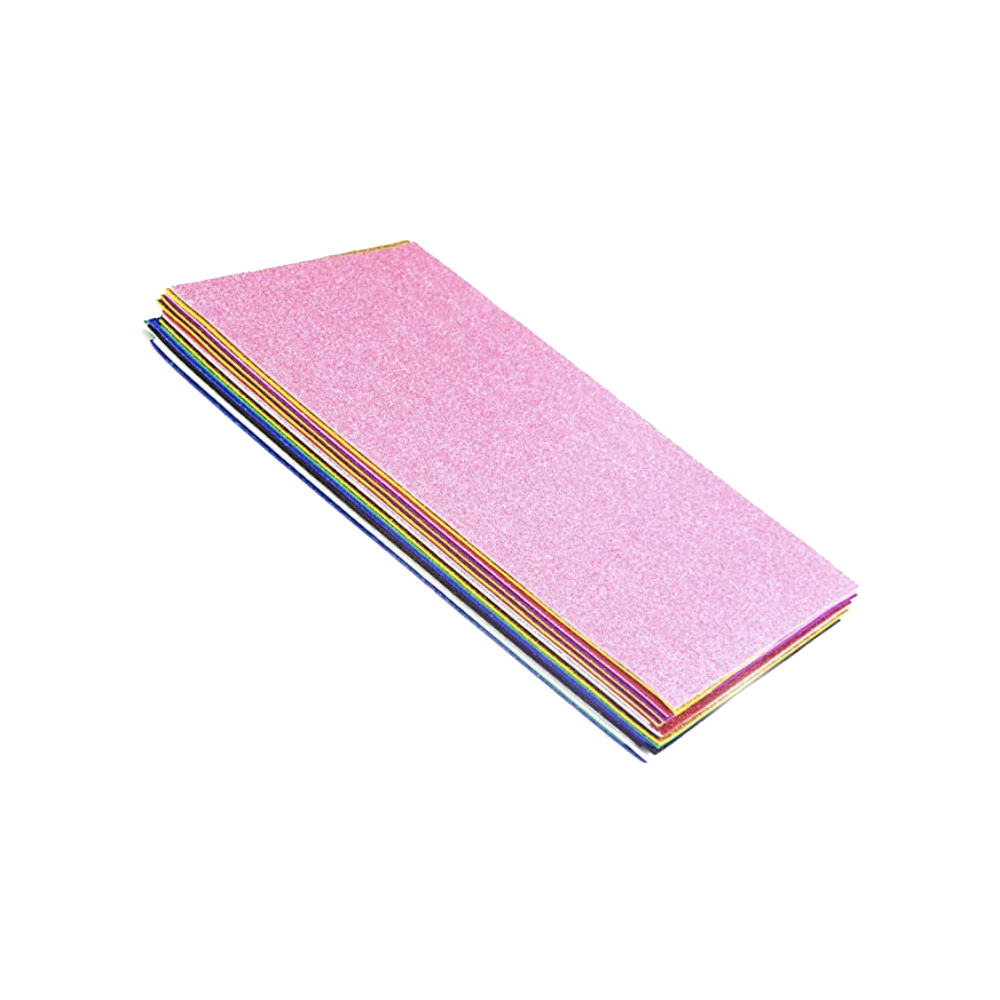
1 Sheet of Thin Glitter Foam in a Color of Your Choice
A Hot Glue Gun
A Small Utility Knife
Scissors
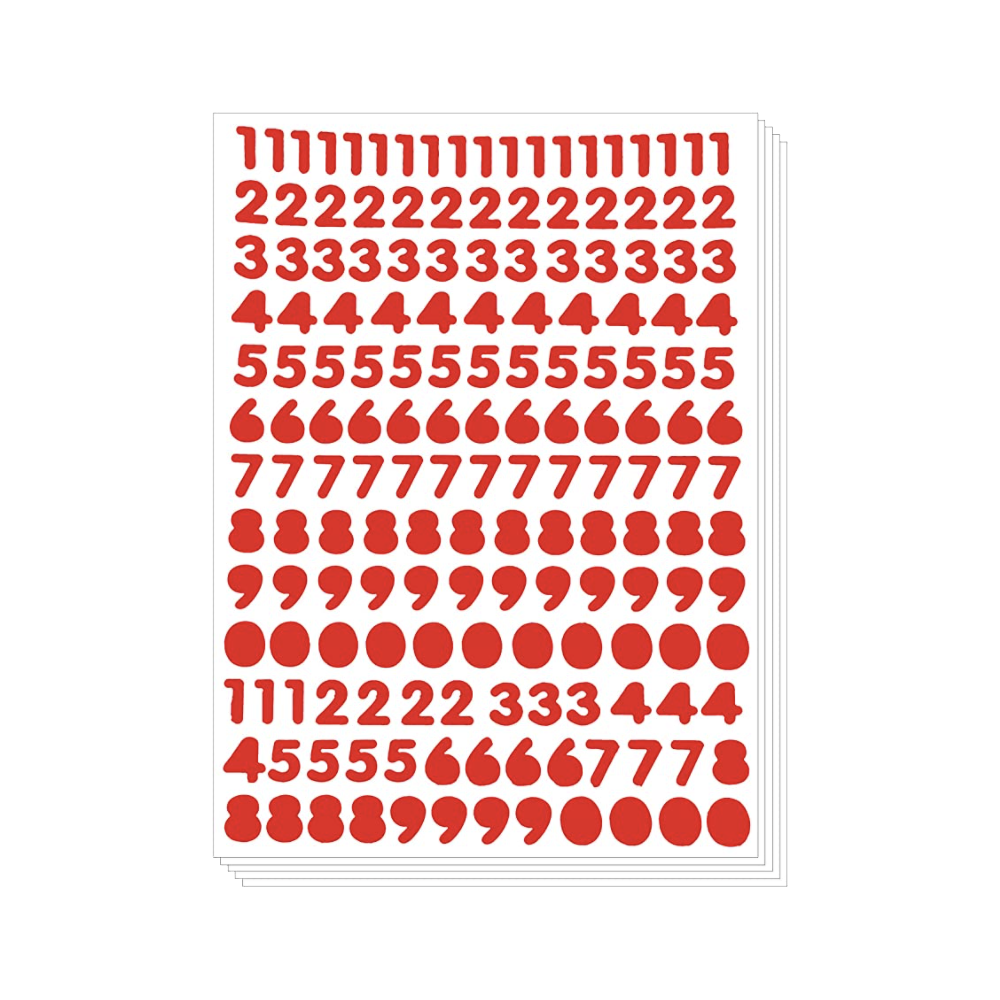
Small number stickers
Stickers for Decorations
Small Training Dog Treats
INSTRUCTIONS:
As described above, find a 24-cube ice cube tray and then check through your pantry to find a box whose width matches its length.
Remove any food from the box and hot glue the top closed.
Lay the ice cube tray on top of your box and trace around it. (See image.)

4. Using your utility knife or crafting razor run along the lines you just drew so you have a square cut into the middle of your box.
5. Glue your ice cube tray into place in the hole you just cut in the box. You want it to stick out of the hole just a smidge to make the next step a little easier.
6. Using your paintbrush, dab paint along the edges of the ice cube tray. This doesn’t have to be especially neat or pretty, it’s just there to show you where to cut the advent calendar doors.
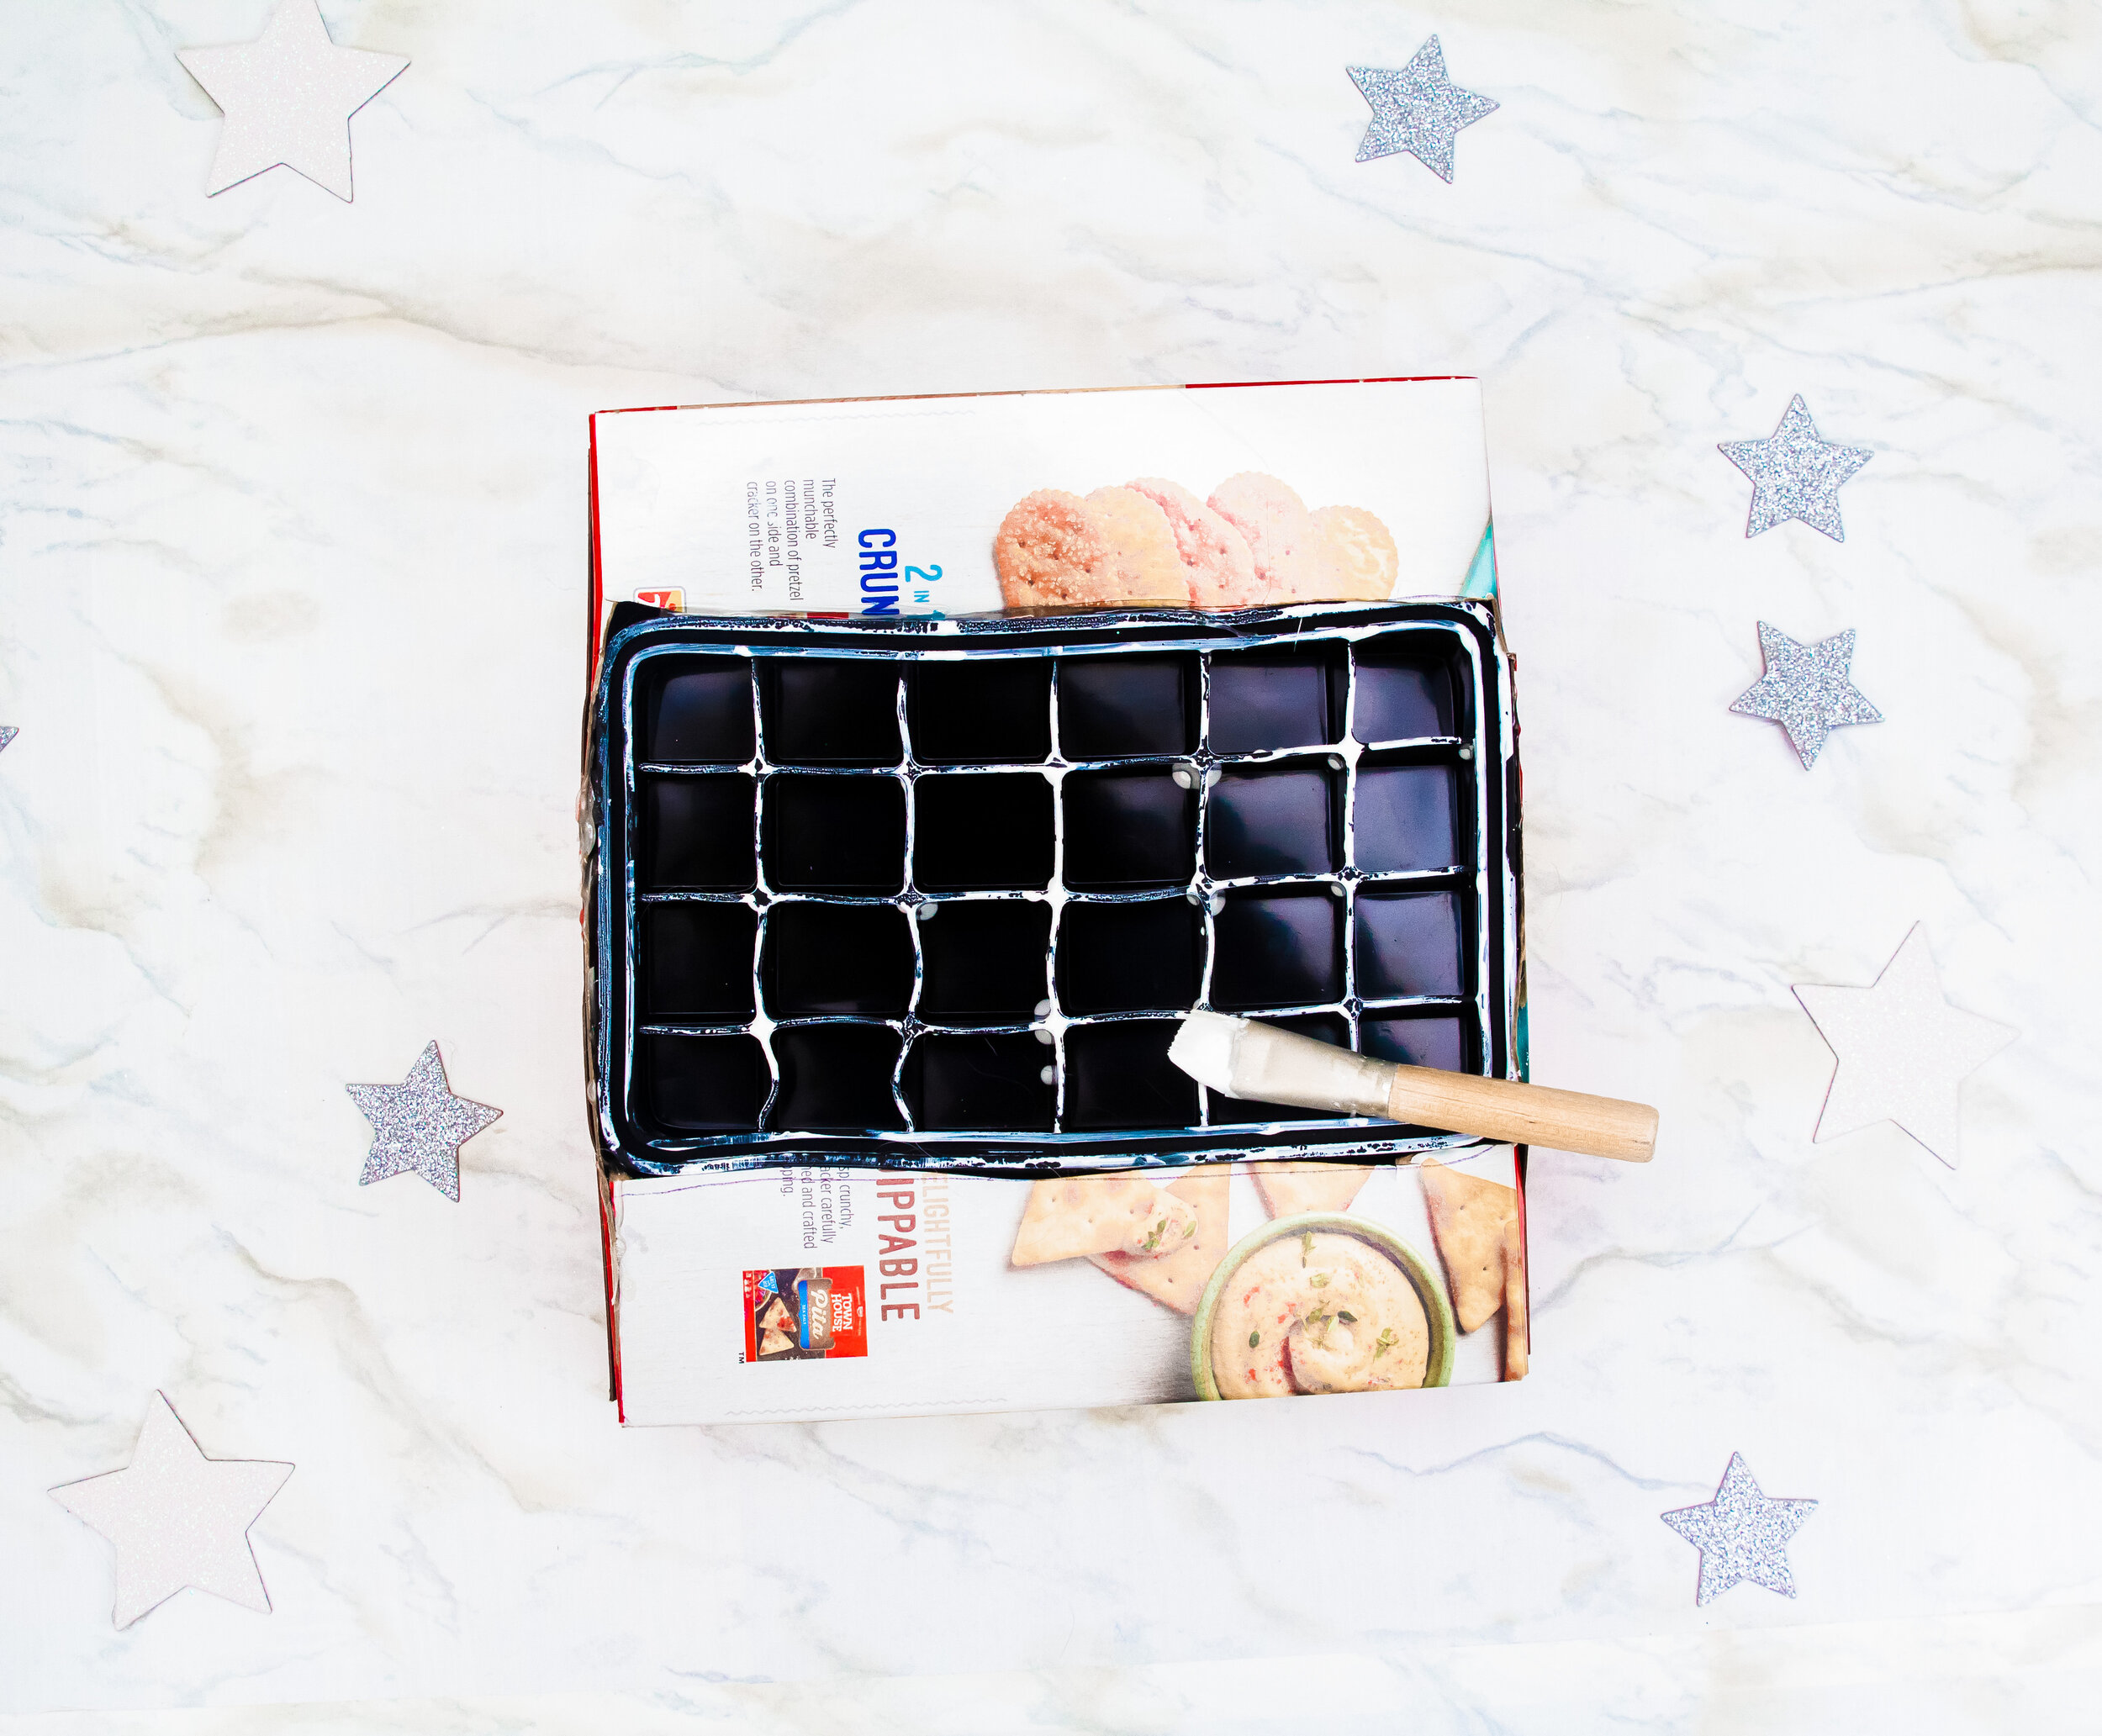
7. While the paint is still wet, line up your sheet of glitter foam with the bottom of your box and lay it flat across the painty surface. It should leave an imprint showing where the divides of ice cube tray are.

8. Use your utility razor to cut along the lines on the top, right, and bottom of each square—these will be the doors of your calendar.
9. Line the glitter foam back up with your box and make sure that the doors you’ve just cut match up with the tray slots, then glue it into place.
10. Trim any excess glitter foam from the sides of the box.
11. Paint the sides of the box white. Or the color of your choice!
12. Add sticker numbers up to 24 on the doors of the calendar.
13. Add any other stickers you may want for decoration. (Note, you may need some hot glue to keep the stickers in place. It can be tricky to make them stick to the glitter foam.)
14. Stuff with the dog treat of your choice and watch your pup enjoy it every day of the holiday season!

Please be aware that The Dapple sometimes receives a small affiliate income when you purchase something through one of our product links, but we only ever recommend products we truly love.